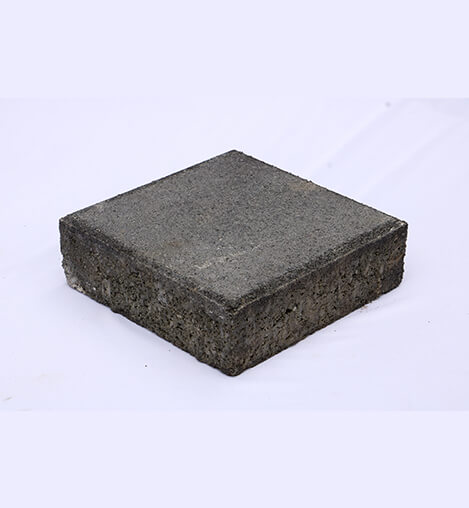
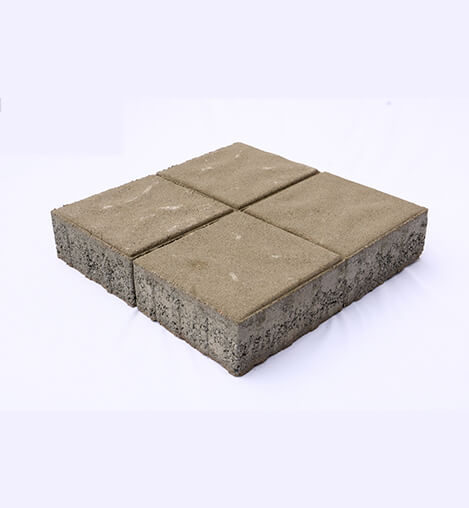
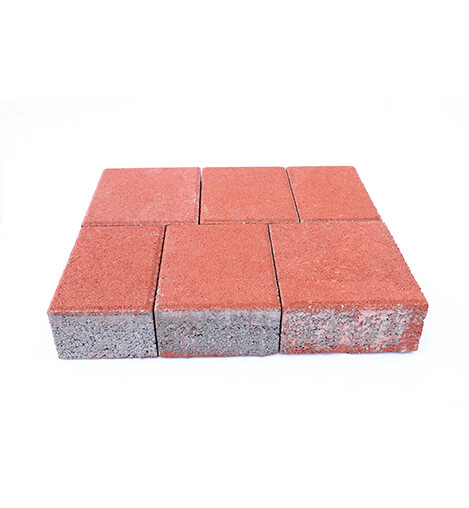
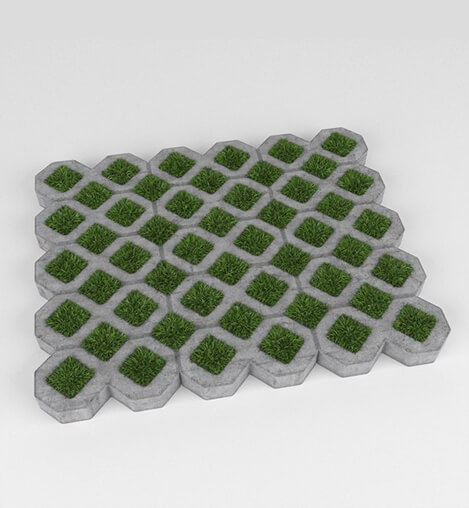
We provide top-notch precast products at unbeatable prices, and we are dedicated to offering customized options to meet the specific needs of our clients. Below are some examples of the high-quality products we offer.

About Us
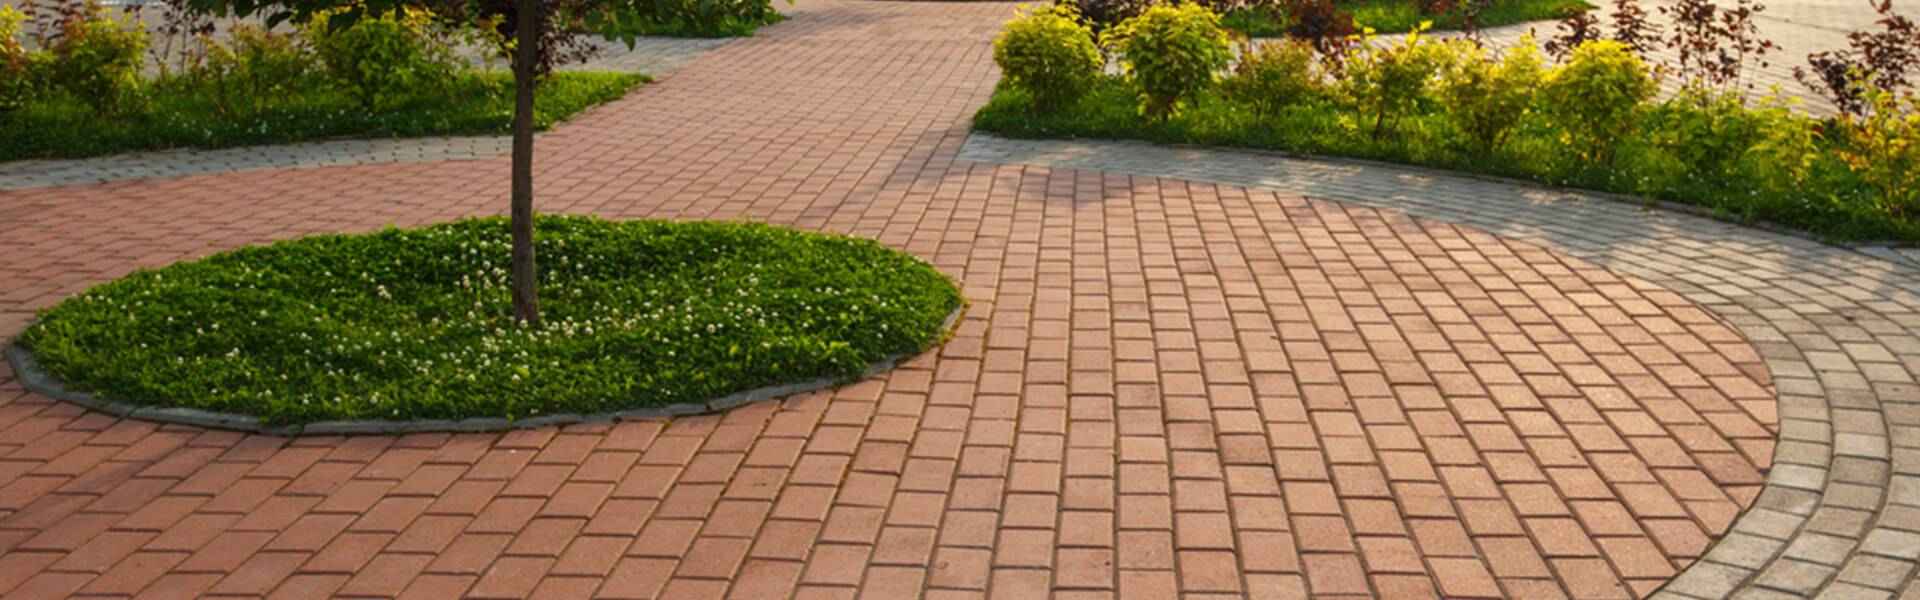
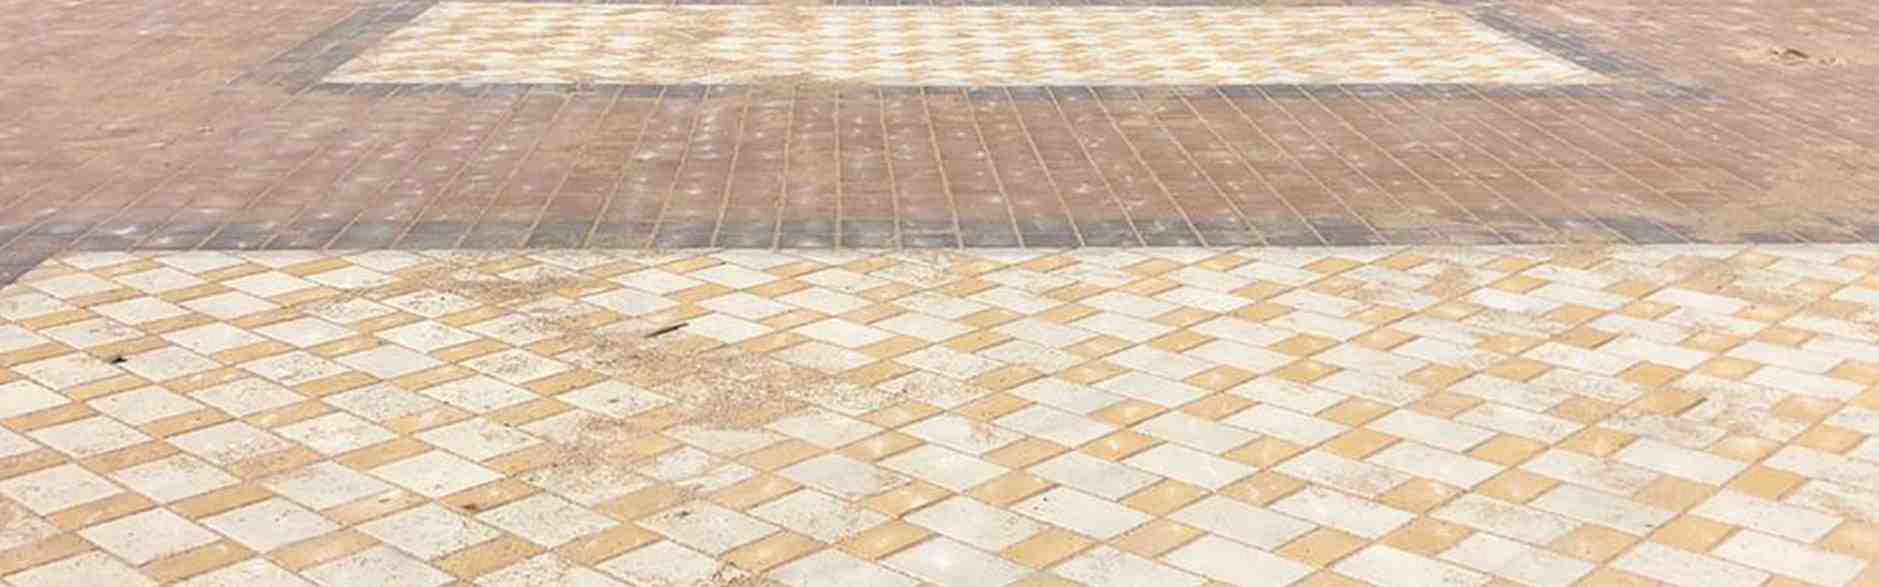
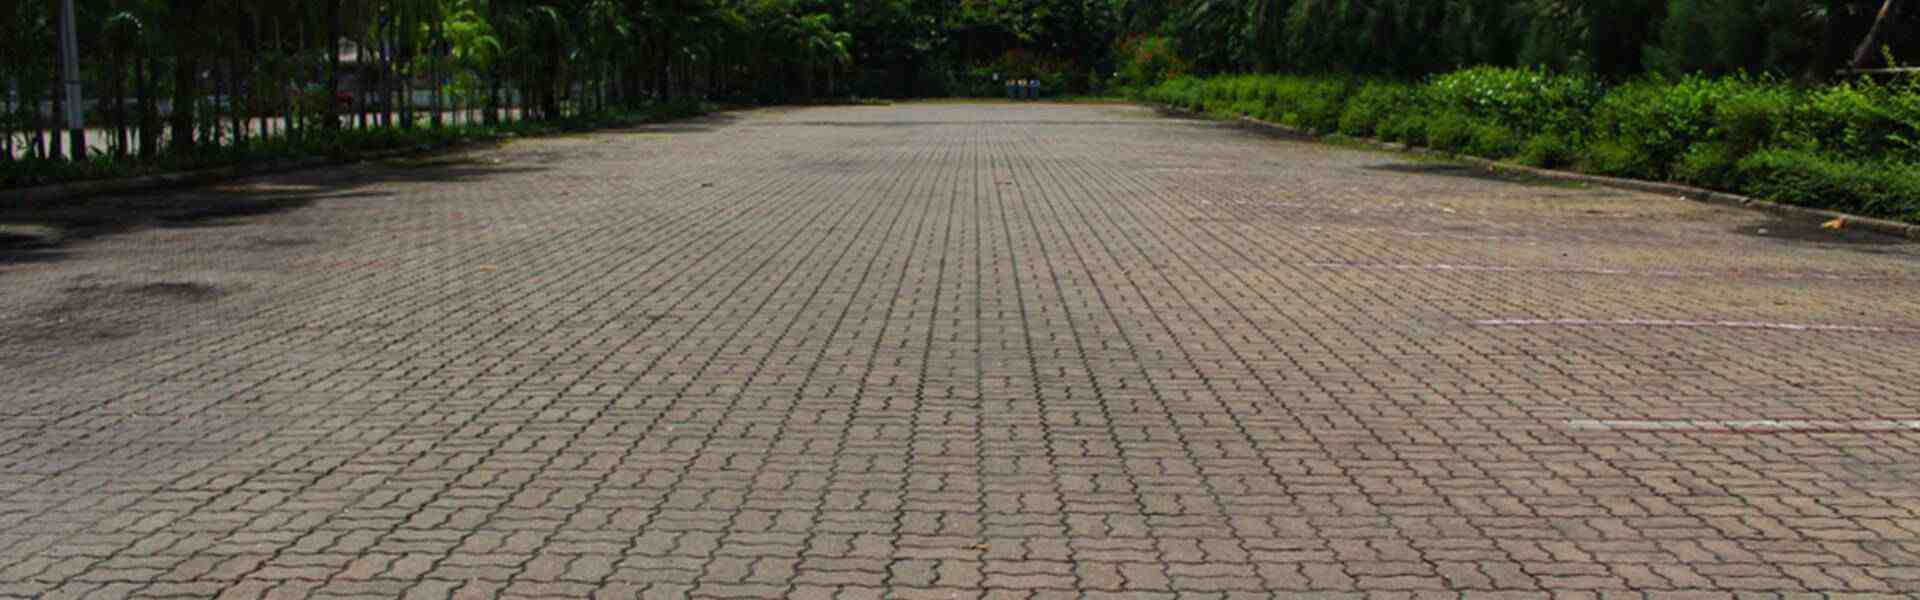
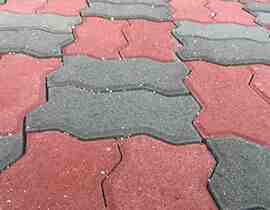
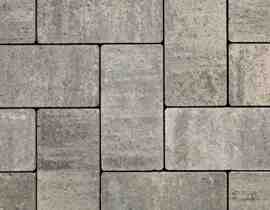
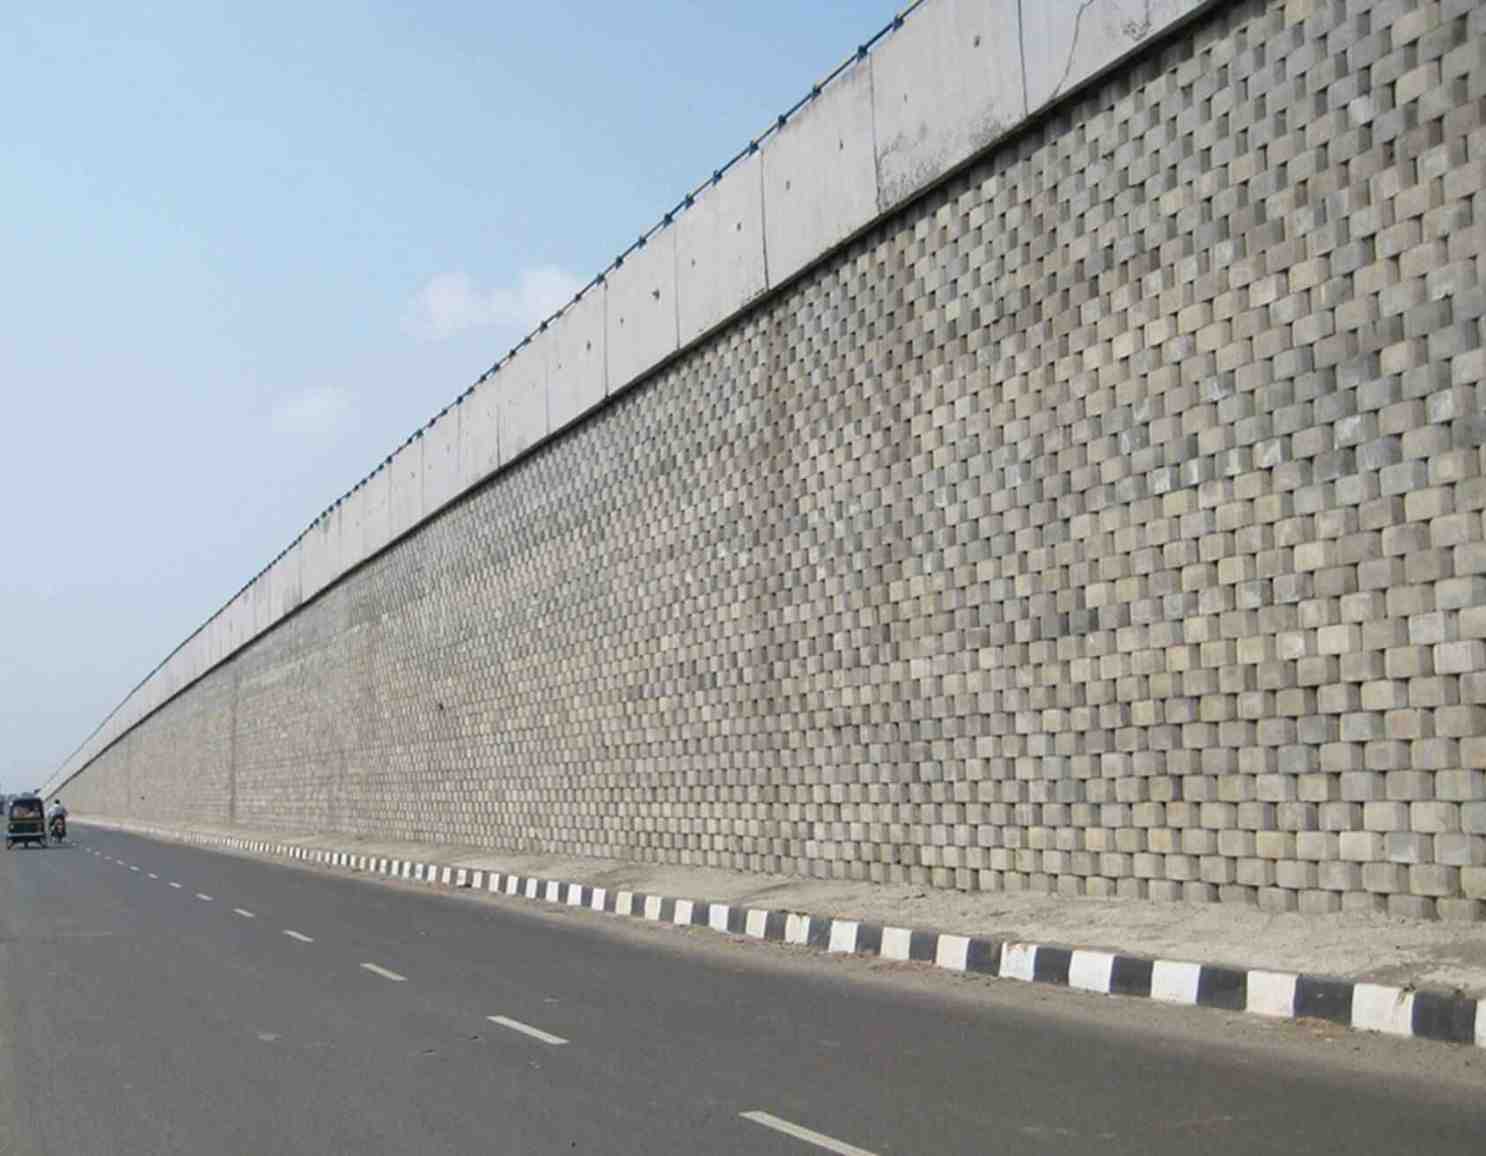
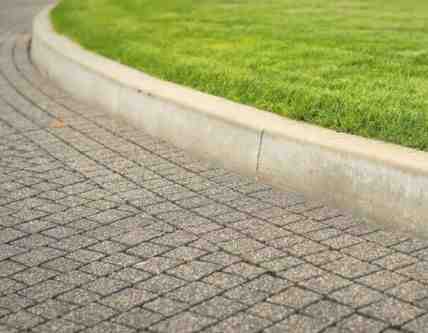
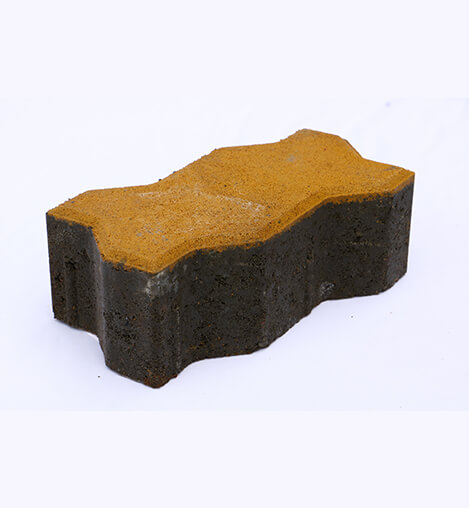
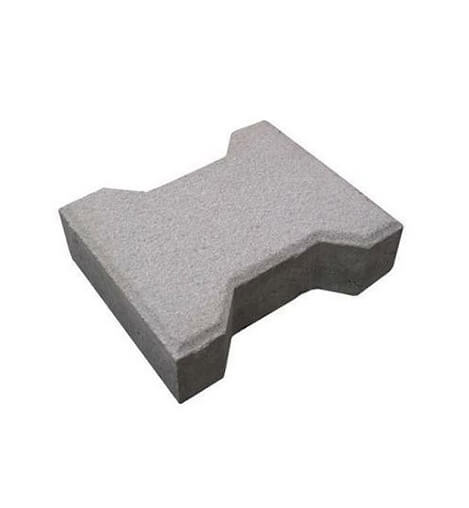
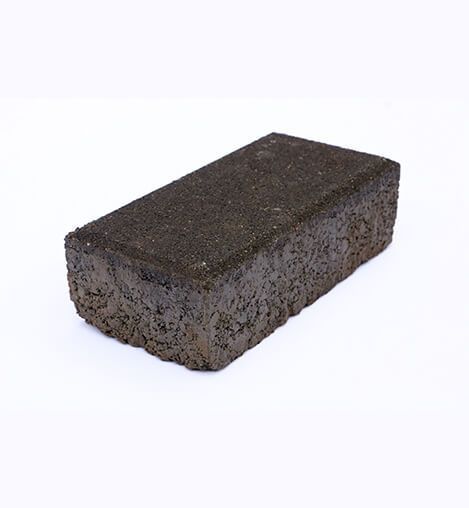
Aashapura Pavers is an ISO 2015:9001-certified company associated with manufacturing the finest quality precast products like Heavy-Duty Paver Block, Kerb Stones, Retaining Wall Blocks, Solid Blocks, and more.
We have vast experience in working on commercial, industrial, and residential projects, whether it's a sidewalk installed outside your business or concrete pavers installed in the garden, or even retaining walls built on highways, we have got you covered for providing all-around paving solutions.
Read MoreOur Products
Why Choose Us
Choosing us means you'll have access to a wide range of high-quality precast products at competitive prices, along with excellent customer service. We understand the importance of meeting the unique needs of our clients and we're dedicated to providing customized options.
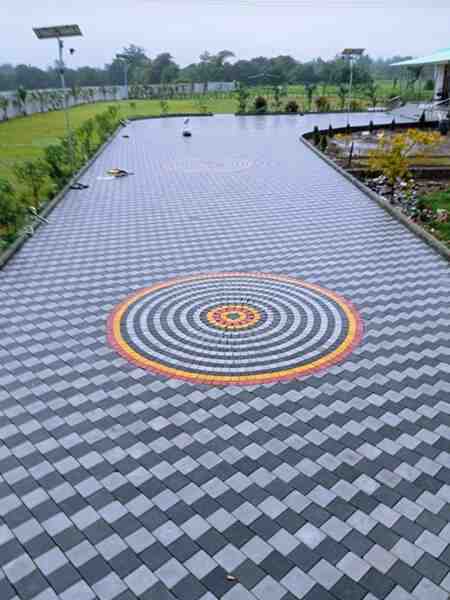
Product Gallery

Need Any Help ?
+91 95866 48881, +91 99099 93976
Testimonials
Lorem ipsum dolor sit amet, consectetur adipisicing elit, sed do eiusmod tempor incididunt ut labore et dolore magna aliqua.
Customer Name
DesignationOur Clients